Prerequisites
To create a dispute in the Disputes portal, you must have the following:- Access to the Disputes portal and an active sign-in.
- The transaction token, name of the user, or number of the card associated with the transaction you want to dispute.
Creating disputes might require specific roles or permissions in the Disputes portal.
Confirm your access level with your administrator if you don’t see the options described below.
Finding the transaction you want to dispute
You can find the transaction want to dispute using one of the following ways:- Searching the transaction directly using the transaction token.
- Looking up all transactions for a specified user.
- Looking up all transactions for a specified card.
Looking up the transaction using a transaction token
From the left navigation menu, click Single Dispute under the Create Case section. The Create a single dispute screen appears.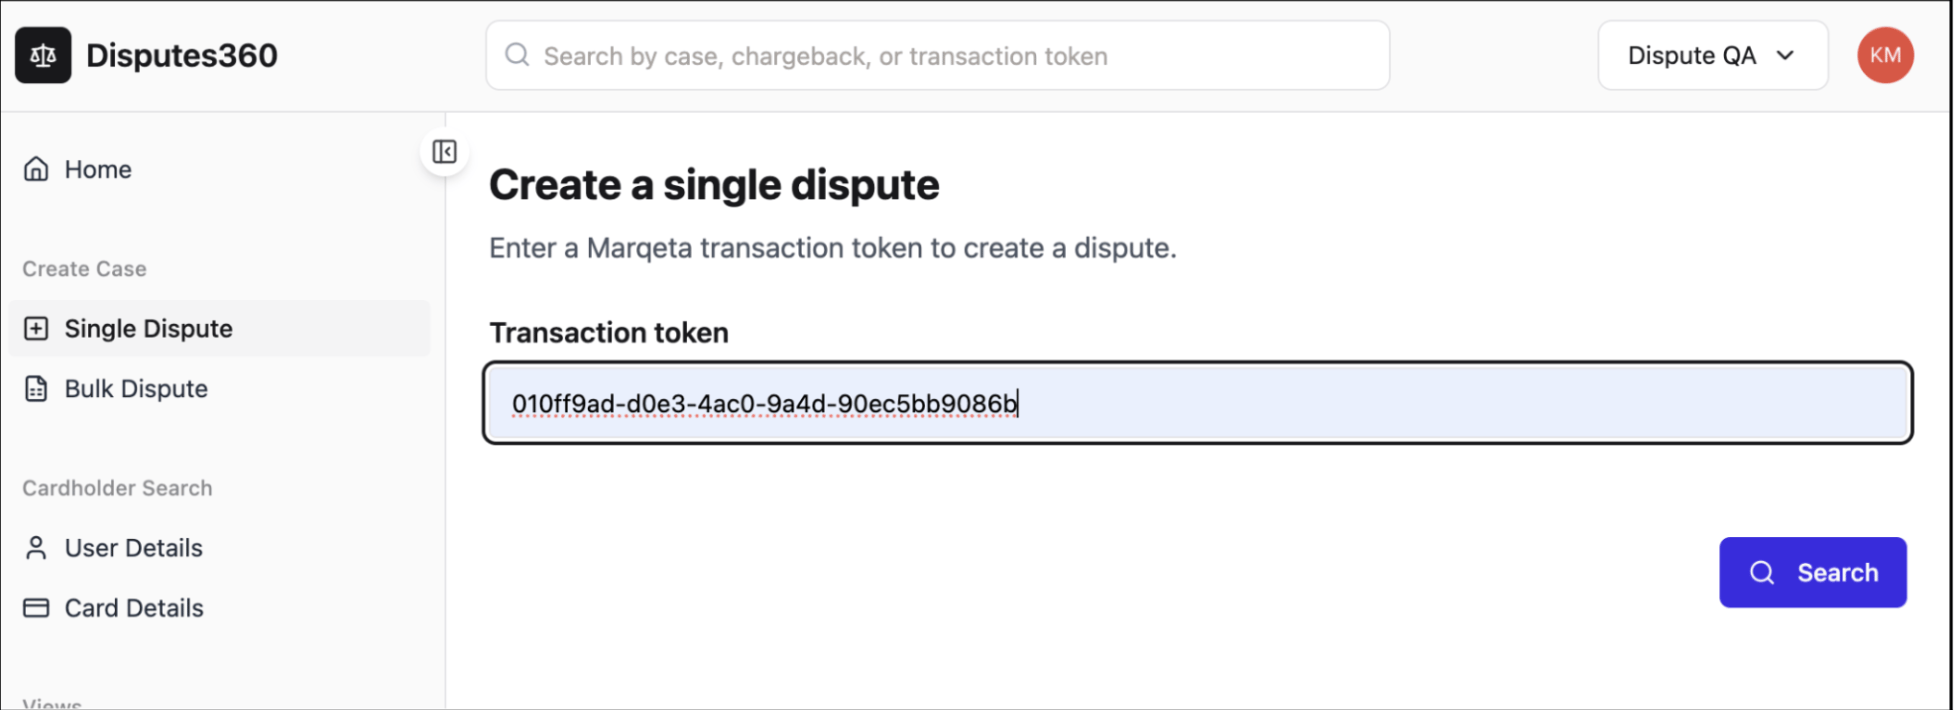
Looking up transactions for a user
You can create a dispute by finding the cardholder first and selecting from their transactions.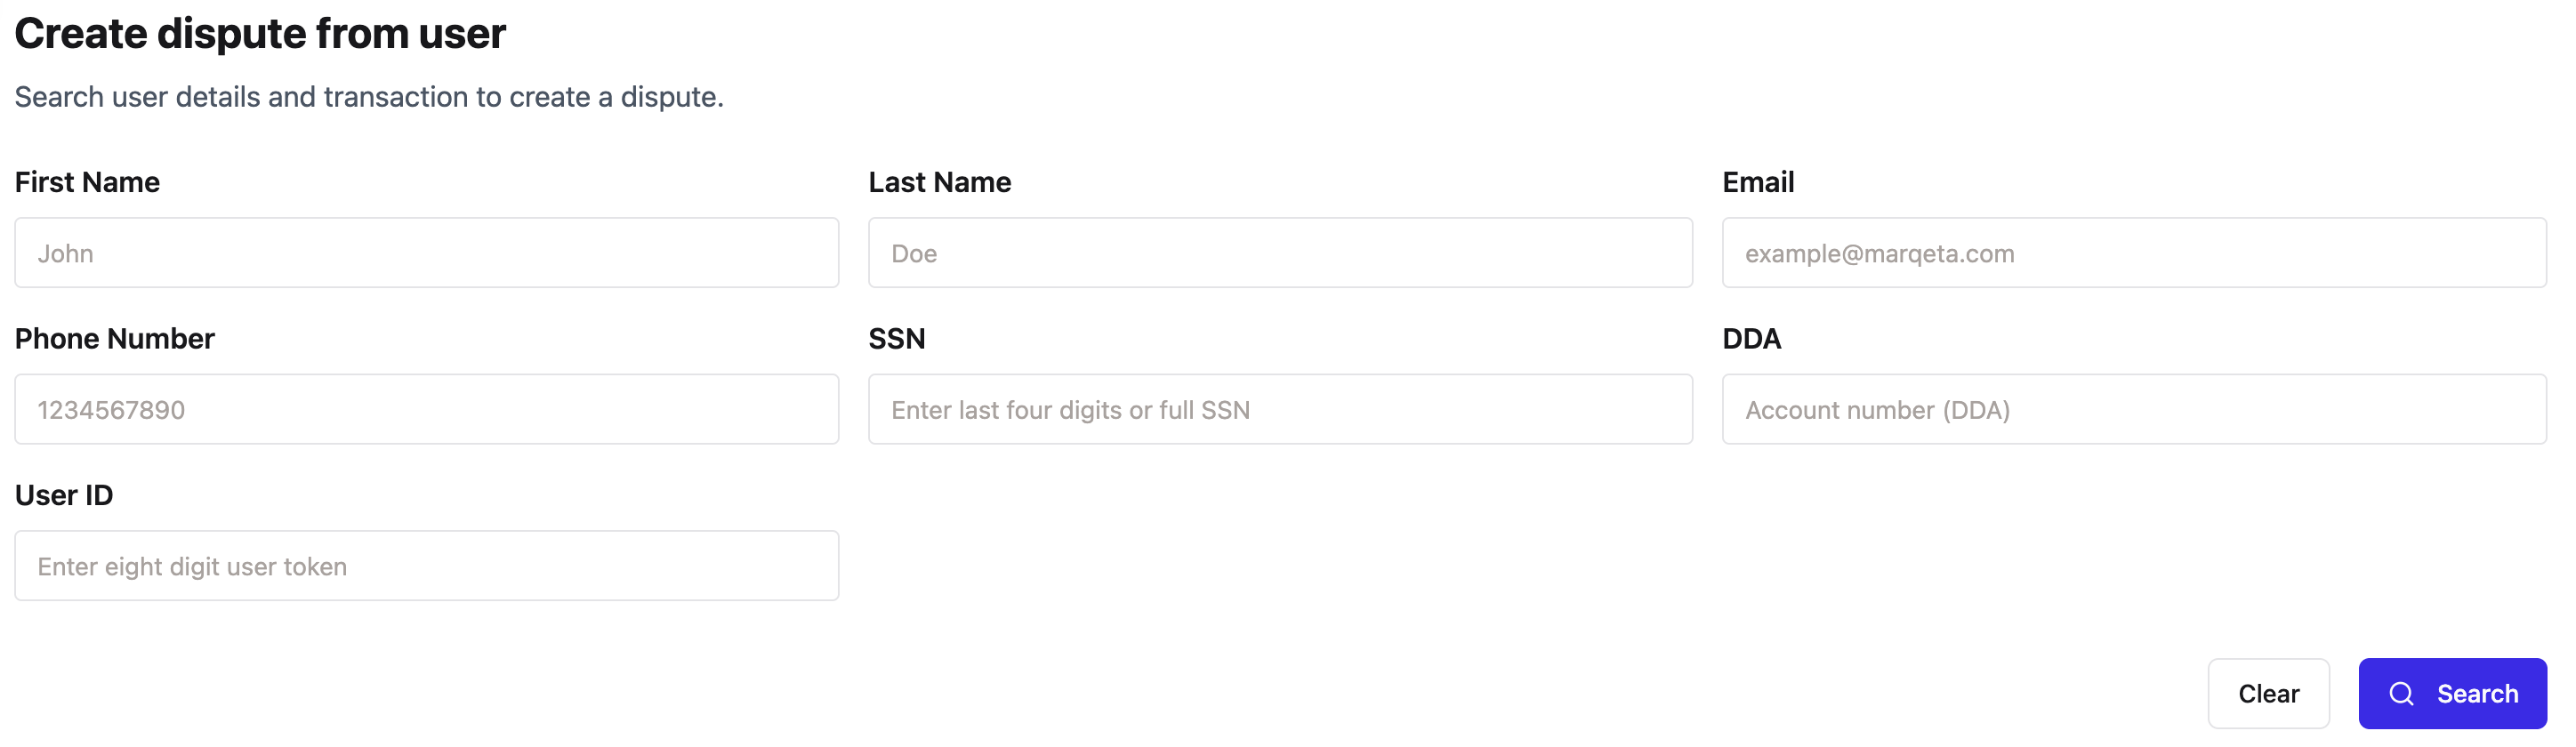
Click the user of interest. The next screen loads a list of all disputable transactions for that user.
Looking up transactions for a card
You can also create a dispute by searching for a card and selecting from its transactions.
Click the card of interest. The next screen loads a list of all disputable transactions made with that card.
Choosing your dispute creation method
After the transaction loads, the dispute creation form appears. Select the method that best fits your situation:- Questionnaire — Creates the dispute through a step-by-step questionnaire. The guided questions determine the card network reason code automatically. This method is best for guided dispute creation when you need detailed prompts.
- Fraud only — Reports fraud without initiating a chargeback. This method is best for fraud reporting that doesn’t require immediate chargeback action.
Creating the dispute case
Work through the selected method, answering each prompt with the details of the dispute. When you’re finished, submit your answers to the Disputes portal. The Disputes portal then:- Creates a new dispute case.
- Directs you to the Dispute Lifecycle tab so you can continue managing the case.
- Adds the case to your case views for tracking and follow-up.
Next steps
Your dispute case is now active. From here, you can:- Review case details and monitor provisional credit deadlines in the Dispute Lifecycle tab.
- Upload supporting files in the Documents tab.
- Track every action on the case in the Activity tab.